Sunday, 4 May 2014

Late April Early May Update

The last couple of weekends have been a bit patchy with work on the Big Panther but progress is still being made! Again, some work has been done on 'the other' 1/4 scale Panther and some work has been undertaken on Trevor Coopers Cromwell.

Howard has been busy with the 3D printer :-)

 The new kugelblende, still with its printed supports intact. These help keep the shape of the object being printed without it sagging! This, like most of our 3d printed parts is hollow and if you hold it up to the light you can see the hex honeycomb inside the part. It also weighs next to nothing which is adventageous!
 The fuel and water fillers which sit on the engine deck...
 ...printed in three parts...
 ...and fitted on the model.
 I wasnt happy with the supplied armoured exhaust covers, so we made some :-)
 The joints are exagerated so that milliput welds can be added onto afterwards and still leave that angular edge that is typical of the Panther fabricated exhaust shields.
 They're even printed with the holes in the right place! No need for drilling.
 The air intake covers that sit on the engine hatch.
And in profile. We've yet to fit these.

 We wasnt happy with the exact shape and location of the kugelblende as fitted to the model, so we printed a replacement, took a deep breath and then cut the old one off :-0
 And here it is fitted. You can see in the picture how much the original one was off. Hopefully we've got this right as we've measured and measured two real panthers to get the correct location and profile. As with a lot on this model, we think we've got it more or less right, certainly a lot better than it was!
Here's where we've got to so far. The armoured covers fitted and the trumpet shapes trial fitted to allow positioning of the flamvernichter brackets (at the top of the rear panel). Also fitted are the four access covers (also 3d printed) and the main engine hatch in its position to allow us to line everything up!

One of the weekends we had a little field visit to Rex Cadmans Panther 'somewhere in England'!! We wanted to take lots of measurements of the turret and its details as we hadnt had a chance to do this in the past. We even measured the gun barrel lengths, diameters and the muzzle brake sizes so there's no excuse now. I dont intend to post these pics as they're quite frankly boring to anybody who's not a Panther nut but here's a few to whet your whistle :-)

 Howard brought the Mk1 engine hatch to compare. Not quite right H but not bad :-)
 Amongst all the wrecks (and they are wrecks unfortunately) were these two little gems that caught my eye. The JgPzIv has very few road wheels, only a couple of the bogies and the final drives have been gas axed in the past I guess because they had broken and stopped the tank rolling. Still, its mostly there!
The Hetzer is more complete but still a long way off running. At least these have been saved from the scrapman!

This weekend its been work on Trevors Cromwell. This is a Ray Spooner model made from wood with his patented (or not!) conveyor belt tracks. It had two Parvalux motors but they didnt really have the power or turn of speed so Trev asked H if he could work his magic on it :-)

 Firstly the smoke generator has been moved back to allow more room for the motors and the overhauled electrics (not to mention Trevors mahoosive 6x9 speaker!!) The plumbing brackets and support for the bottle are 3D printed. Of course :-) Note the two stubs of the exhaust pipe which match up with...
 ...the outlet pipes at the back, also clamped by printed brackets. Here you can see the new motors and final drive arrangement. Like H says, the highest power to weight ratio of any 1/6th scale model :-)
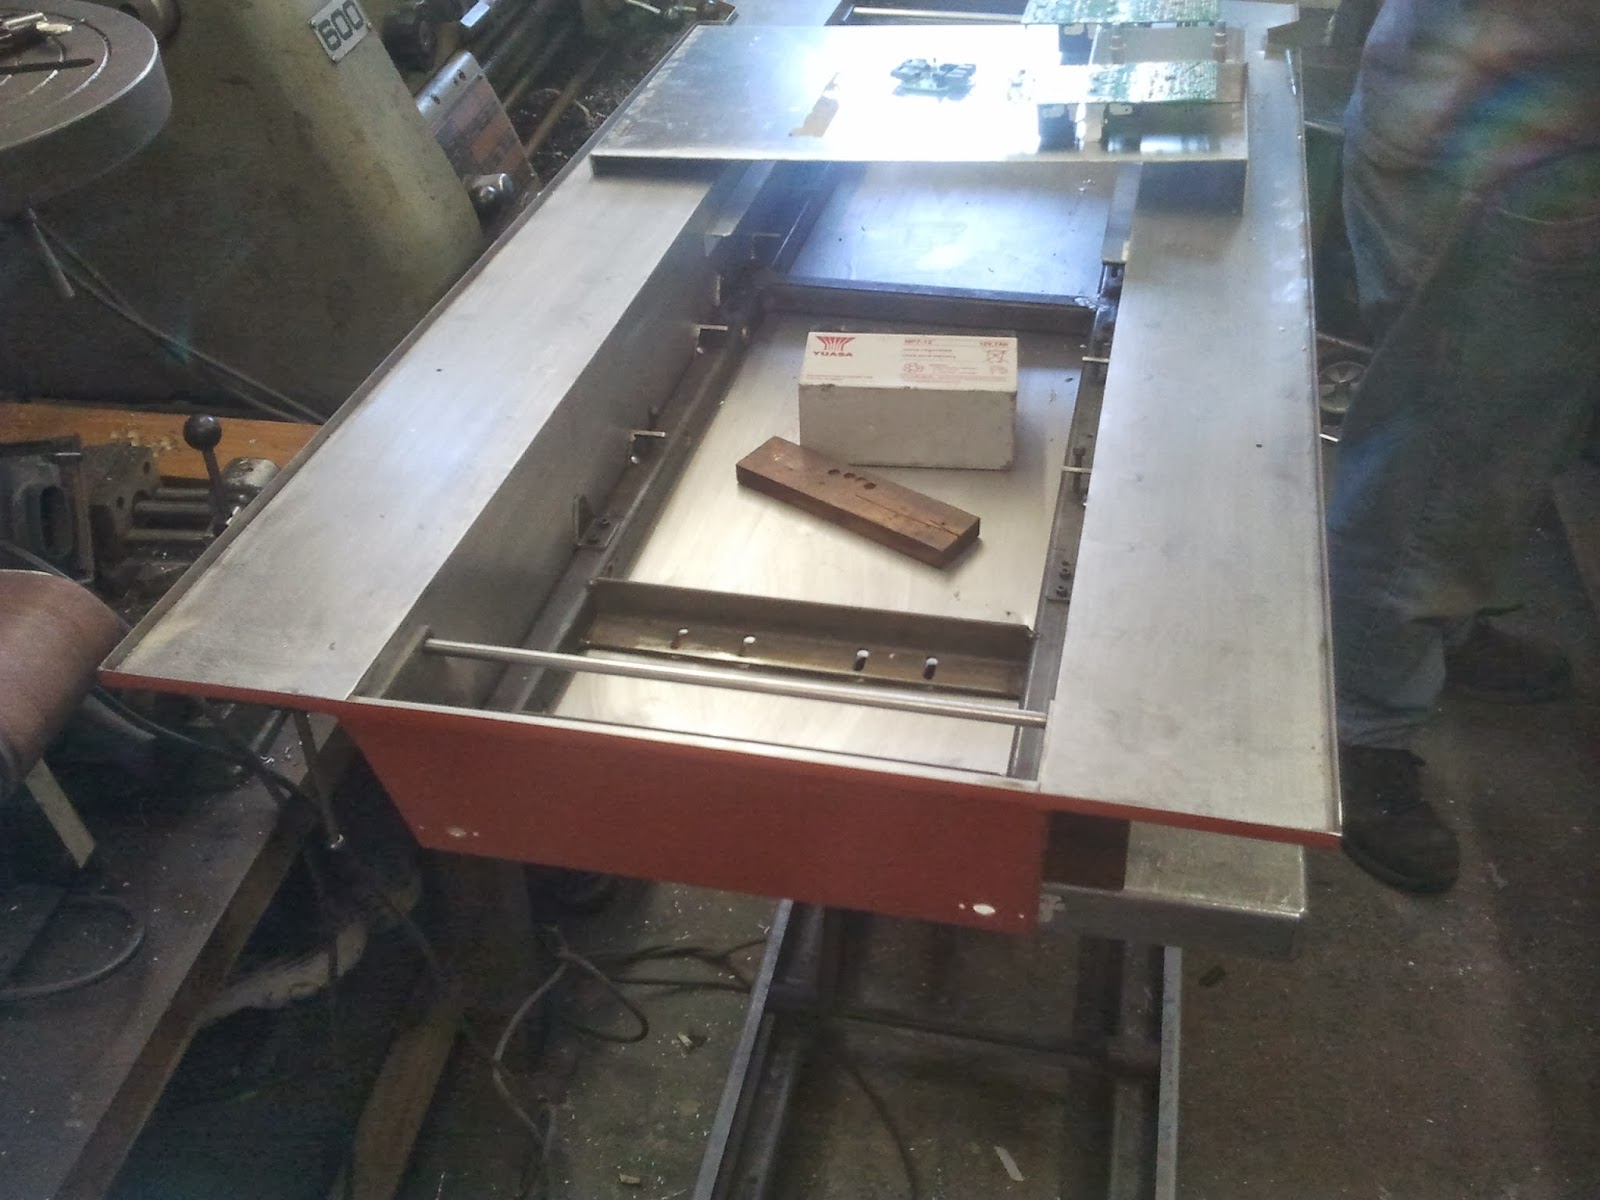
Looking from where the turret should be you can see the new battery tray (to stop the batteries all sliding about), the printed smoke bottle support and the start of the exhaust pipe run.
And because we can, a printed Rx bracket!!!
Lastly, a short video to show Trev the chassis running on the new motors and on 24v, 12v was too slow! I think he'll be happy with that :-) It even gets little Sparkys approval at the end!

And thats about it for now. I'll hopefully get on and do some electrics for Trevs Cromwell tomorrow (Bank Holiday Monday) but thats not so visualy appealing!

Monday, 14 April 2014

Early April Update

After a week working on 'the other Big Panther' it was back onto mine this last weekend!

After making the jack block holder Howard realised that he hadnt got enough strip material to make the spare track link holders se went onto making a set of stowage bins. Followers of this Blog may remember that H made a superb set of bins to my dimensions (the correct scaled dimensions I should add) which when offered up to the model were way too small :-( Anyway, memories fade so he decided to have a go at making another set. I showed him what they should look like, where they fit, opened my reference books at the correct page and went and made the tea!!!

 
 The jack block bracket freshly primered.
 
The left hand bin takes shape...
...the base of the bin offered up...
 ...before being Tig welded.
 And heres the finished article. Check out the almost scale welding :-)
 The lid lip in place.
 H reckons the welds are so good the bin could well be watertight! No daylight to be seen.
 The two finished bins with a Coke can for size reference, as I've said before everything about 1/4 scale is huge!
 The over centre catches take shape...
 ...here a side view...
 ...and complete with the hooks fitted to the bins. These are welded (at least on the Bovington Panther they are) but H thought that they would be too small to weld so he riveted them. These catches are a masterpiece as they are fully working (a bit overscale maybe) and hand made from 1mm steel sheet cut with a band saw, drilled, filed and folded by hand...and they work :-)
 The tank's back panel with the support bracket and the loop bracket fitted.
 The two bins fitted to the rear panel again with a Coke can for reference.
Heres a side view showing the prototypical gap between the bin and the back panel.

Hopefully next weekend (Easter) we'll be making the gun cleaning rods tube and the spare track link holder if we can get the material!

Sunday, 23 March 2014

23rd March 2014 Tool Racks

So this weekend was spent making tool racks. All weekend! Talk about a labour of love...

Anyway, again, we dont claim to have made everything 100% accurately but we have made them 'look' right and fit the tank! The tools were all made some time ago so literally, the racks took all weekend. Made from steel and all welded they will be uber robust. The fully working tool clamps were supplied from Dave Dibb of Armorpax who especially made a few sets of his 1:6th tool clamps in 1:4 scale, thanks Dave :-)

This is the left hand (if you were sitting in the tank) tool rack. We made the handles of the cutters a bit longer to lessen the gap between C clamp and the ends of the cutters handles otherwise this is fairly as per.

And this is the right hand rack with a tin of Coke for size reference. Its not until you see something like this do you realise how flipping big they are, or in fact everything is in 1:4 scale! The C clamps and fire extinguisher were cast by Chris Leech who also made the crank. We need to bend this a bit as you can see as the length above the extinguisher should be parallel.

This is the holder for the wire hawser used to pull the tracks onto the tank and sits on the right hand side. The holes are for fixing, the real one would have been welded onto the tank of course!

And finaly, the hammer/pry bar/track tensioning bar holders. We need to make the hammer head a bit bigger as its lost in the bracket! H is going to 3D print one :-) Otherwise all pretty much as per. Chris made the two bars I made the hammer. The hammer, spade and axe handles are all real wood turned (in my mains electric drill in the vice!!!) filed and sanded to shape and stained, the heads are all resin filed and sanded to shape.

And thats another weekends work :-( I'm pleased with what we (the Royal we again) achieved this weekend and slowly but surely progress is being made. We're away next weekend and the weekend after we'll all be working on the other Big Panther so no progress for a few weeks...


Sunday, 9 March 2014

Finaly, some progress :-) Early March 2014

After a hiatus of some time dealing with the 'other' Big Panther and a couple of projects myself and Howard had promised to do, finaly some progress to my Big Panther :-)

Basicaly, all weekend has been taken up with fitting the running boards (Saturday) and making and fitting the front mud guards (Sunday). The running boards were made way back when last year but what with one thing and another that was as far as they got! Saturday was spent fitting these with the 'swastika' brackets (see previous post for explanation!) This wasnt as easy as it seems :-/

 A bit wobbly to start with!! That'll be alright H :-)
 Thats better.
A close up of one of the 'swastika' brackets. On the real thing the running board is bolted to the bracket with dome headed coach bolts and are quite shallow. Unfortunately, because you cant get a nut underneath the bracket (believe me, its impossible!) when we ground down the ordinary hex head bolts into a dome shape we had to keep the domes quite pronounced as we had to fit these with a pair of mole grips and thread lock so they are a bit bigger than they should be. Hopefully when its all painted they wont look quite so big...

 H starts work knocking up the mud guards...
 And here they are! These next few pics dont do them justice as you cant see the curved angle brackets underneath amongst other things :-) A very complicated job making them a; look right and b; fit! I had all sorts of dimensions from the real thing in Bovington Tank Museum but you might as well throw those out of the window (remember the fiasco with the rear tool boxes?) so we made these look right hence there are a few compromises!

 A three quarter view showing the small hinged section (ignore the huge hinge pin, thats temporary!) and the small bracket that bolts to the chassis extension. These arent bolted into the chassis as you'd never get the top off (easily) so the bolt heads are just dummies and the bracket rests on the chassis. Note one of H's modified shackles in place to see how it all looks.
Here's a side three quarter view with the mudguard and running board. I think we've got it more or less right!!!

The superstructure top has now stayed at H's for further work while the chassis has come back with me as all further work on the top can be done without reference to the chassis. No work next weekend as Kaths car failed its MOT so I'll be working on another German tank next weekend!!

Sunday, 12 January 2014

Challenger Chassis Pics

Not a new project by any means but the pictures have been posted to help a fellow Ch1 owner see how we got Lyndons Chally to run half sensibly!!