Sunday, 27 January 2013

Late January Progress

After an idle weekend last week because of the snow a bit of progress this weekend!

Firstly, a panel was made to mount the 6x9 car speakers on and the aluminium sheet which will be the control panel reached through the engine hatch. Then we assembled the chassis for an all too brief test run. Unfortunately, one of the batteries was flat so we had to lash up something to do the test run which meant we couldnt try a neutral turn or find out the chassis running speed :-( However, it ran smoothly and we were both pleased with it :-) Next week we aim to finish the sheet steelwork and make the electronics panel then it'll be painting time!

 Howard welds the 10mm square tube frame up which will support the pvc sheet speaker panel with his new toy, a Tig welder! It makes a very neat job.
 Here's the panel mounted on the frame which in turn is mounted onto the rear of the chassis.
This side view explains better than words. The chassis is standing nose down and we're looking at the right hand idler shaft. The speaker panel is hinged at the rear for access below.

 This is the bare chassis frame with the transmision towards the right with drive shaft pointing towards the camera, and the idler arrangement to the left with the idler shaft poking out.
 Now with the wheels and sprockets on.
 A close up of the suspension arrangement. Neat eh?
 Now with tracks on...
and with the top on. We were quite pleased with the suspension as it worked well. Even with me stood on the chassis the springs didnt bottom out!!! Its a bit low towards the front (not surprisingly!) so we need to beef up the front couple of wheel stations but otherwise all was ok. If the idler looks a bit too far forward, its on its maximum (or minimum!) travel and as far forward as it will go. We'll make sure it goes more midway when we put the chassis together for keeps. In the foreground is the offending battery on charge (yes I know we should have checked it before hand)

And to prove it all works... :-)

A major step forward this weekend and one we were both pleased with! One thing we did decide on (and fix) is some limit of travel micro switches for the idler adjustment as with the top and tracks on, you havent got a clue where the limit of travel is!!! Onwards and upwards :-)

Sunday, 13 January 2013

Mid January Progress

In deepest darkest January, work progresses on the Big Panther! This weekend most of Saturday was spent altering the second drive chain tensioning arrangement as it was found to foul the suspension components of the first wheel station. Not much to show for this but we had one half of the gearbox running and it runs like a dream :-) Howards radio made more noise than the transmission! We had a rough measure and we reckon its doing approximately 6 km an hour in real time so does that equate to 24 km once scaled up??? Anyway, we wont know how fast it will be until we put it all together and run it which hopefully will be next weekend, yay!!!


Sunday was spent finishing the smoke generator mounting plate and fixings, and the smoke generator and exhausts itself. After this we started thinking about the speaker/controls panel but thats another story.

 Here's Howard working through the turret ring on the smoke generator assembly. This view gives you an idea of the sheer size of the bloody thing! Just putting the top on and off the chassis is a two man job.
 This view is looking through the turret ring towards the back of the chassis  and the smoke generator.
And here's a close up of the smoke generator itself. Its a larger version of a twin element smoke generator I'd made before. Two elements (12v+12v=24v) in series to run off battery voltage and there will be two fans driven by a Benedini smoke generator control board giving proportional smoke with the engine noises. The idea of the big box is to give a nice reservoir for the smoke to be stored in before the initial start up big puff of smoke!

And lastly, a couple of views of the engine hatch complete with Milliput weld detail and a coat of paint. Not so exquisite as Kent Wiiks example maybe but a close second :-) I'm happy with it and thats all the counts!


Sunday, 6 January 2013

Progress in 2013!

This weekend its been mostly finishing the engine hatch. Its not 100% accurate but as I've said before, its all about capturing the look of the real thing and I think you'll agree this certainly looks the part :-) The cheek peices and supporting wings are all bolted together and to the main hatch with high tensile bolts so this will be capable of towing! Once the hatch was finished, we spent some time getting it all line up at the back of the model, the pics should tell the story. This took some time as its a two man job to move the chassis and top around and cramped in Howards workshop! After this, the battery support frames were welded into the chassis and a mounting for the turret traverse mechanism. At the back, a plate was added to mount the smoke generator and plumbing for the exhaust pipes but I forgot to take a picture of this!


Just some Milliput to add for the welds, some chains and some paint and voila! As you can see from the bottom picture, its huge, and heavy! Like I said, not 100% accurate but I'm happy with it :-)

 Next we took the chassis and top out into the garden to offer the two up and get the alignment right for the rear hatch to screw into. This wasnt a five minute job!
Look how small the hatch looks now in place on the tank!  The hatch screws into a steel threaded bush which is a sloppy fit in the rear chassis rail. Once done up tight and the top checked that it was in the right place...
 ...the bush was welded into place. The above pic is looking up under the engine deck...
... and this pic shows the bush position in relation to the rest of the chassis.
 Here's the chassis laying on its right hand side on the bench looking underneath with the longtitudinals for the batterys to lay in.
And now its laying on its right hand side looking inside at this post which will be the mounting point for the turret traveres. The mast, as Howard put it, is bang on dead centre of the turret ring.

Sunday, 30 December 2012

Sunday 30th December

Not much progress today for no other reason than it was a bit poke and hope! First we chopped off the moulded round engine hatch off the rear panel of the top (does that make sense?!) which left a flipping great hole :-) We then cut and fitted a metal plate behind the hole and filled and sanded the hole and fixing holes. This doesnt have to be spot on as the whole of this is hidden behind the new hatch anyway. Then we started on the hatch itself. Howard didnt have thick enough steel for the hatch so he made it from a laminate of Aluminium and Steel, once painted of course it wont be apparent! Initialy we used M3 nuts and countersunk bolts but these turned out to be too small so we had to enlarge the rebated holes (twice!) and then fit M4 countersunk bolts and nuts. This looked ok. The hatch has a hoooge bolt welded to it, this passes through the rear panel and bolts into a crosspiece of the main chassis, similarly to my 1/6th JagdPanther, and together with the lip at the glacis provides the fixing for the top to the chassis.

This is the hole left when we chopped off the moulded rear hatch. We thought it was a stuck on detail peice like the exhausts (which you can see the outline of in the pic) but no!!!

We fitted a metal panel behind the hole and filled and sanded the hole. The rear panel is now the right way up!

 This is the front of the hatch. Uppermost is the steel layer with the welded bolt end in the middle of the picture. Howard had to enlarge the rebates three times as initially we used M3 nuts and bolts but these didnt look big enough once we'd finished this stage, so we then used M4 nuts and bolts but had to enlarge the rebates twice to get the right look. I've got so many pictures and diagrams of Panthers but very often its a case of try it and see as 1/4 scale is all new ground :-)


This is the Aluminium rear with the big thread fixing which passes through the rear panel and fixes into the chassis providing the fixing for the whole top. You can see the countersunk bolt heads as well in the pic.

More next week hopefully :-)

Saturday, 29 December 2012

Saturday 29th December

Finally, some more progress :-)

Today Howard made the two rear chassis extensions and trimmed the rear panel of the fibre glass top to fit between the new extensions.

 This is the left hand side rear with the new extension top most. All the holes below are the mountings for the idler adjustment.
 This view is looking across the rear panel of the fibre glass top towards the right hand extension.
 A different view of the left hand extension without the top on.
Looking across the rear without the top (rear panel) in the way.

 Howard welds the steel bottom onto the sides...
 ...and the cleans up the weld with the grinder. The steel bottom and sides are here removed from the chassis frame.
A close up picture of the lower glacis and belly plate which is all one piece bolted to the floor and the inner sides of the gearbox.

Tomorrow we're going to make a start on the smoke generator and exhaust arrangement, mounting the main batteries and making a new rear panel engine hatch!

Sunday, 11 November 2012

More Progress!

No update last week as I couldnt find my USB lead!

Anyway, last weekend I spent most of the time finishing off the sprockets with the millions of little castle nuts (remember them?) and bolts. The end result is quite pleasing. H made some new sprocket caps complete with tab washers and the we trimmed and bent up the main star shaped tab washers. The next two pictures explain it better than I can!


 While I finished the sprockets, Howard machined keyways into all the stub axles as in retrospect he thought the bolted clamp idea wouldnt be man enough on its own. This took some time!

This weekend we've been welding the chassis together and cutting up sheet steel :-) Firstly we dismantled the gearbox assembly and rear idler assembly and H welded the flat plates to the chassis rails.
Then he made the cross pieces and welded these in. The fist pic shows H machining the cross pieces in the mill and the second welding them in.

After this we cut some sheet steel. These are the two side pieces with all the holes drilled for the fixings.
The next few pics show the chassis taking shape and with the sides on and gearbox and idler assemblies added. The we trial fitted the top to see how it all fitted together.


Now its really starting to look like a tank again :-) Next weekend I'm reprising my role as Darth Vader (dont ask!) at a charity event so wont be much done until a fortnights time.

Sunday, 28 October 2012

Wheel caps!

This weekend has been all about wheelcaps!

It took me all weekend to modify the wheelcaps as supplied from this

 To this! Howard turned down the dome in the centre so instead of looking like a wide brimmed bowler hat it now looks like a little flying saucer! I then removed the cast bolt heads, drilled and tapped holes for proper bolts and then made up the tab washers from 5mm strip. Because the bolt positions are not that accurate, I made each tab washer up individualy by drilling the first hole, bolting it onto the cap then marking and drilling the second hole before fitting the second bolt. Very labour intensive but quite effective I think you'll agree. I timed myself fitting the four tab washers and bolts took 13 minutes for each cap, with sixteen caps thats a lot of minutes :-(
 Just to prove I have done all sixteen!
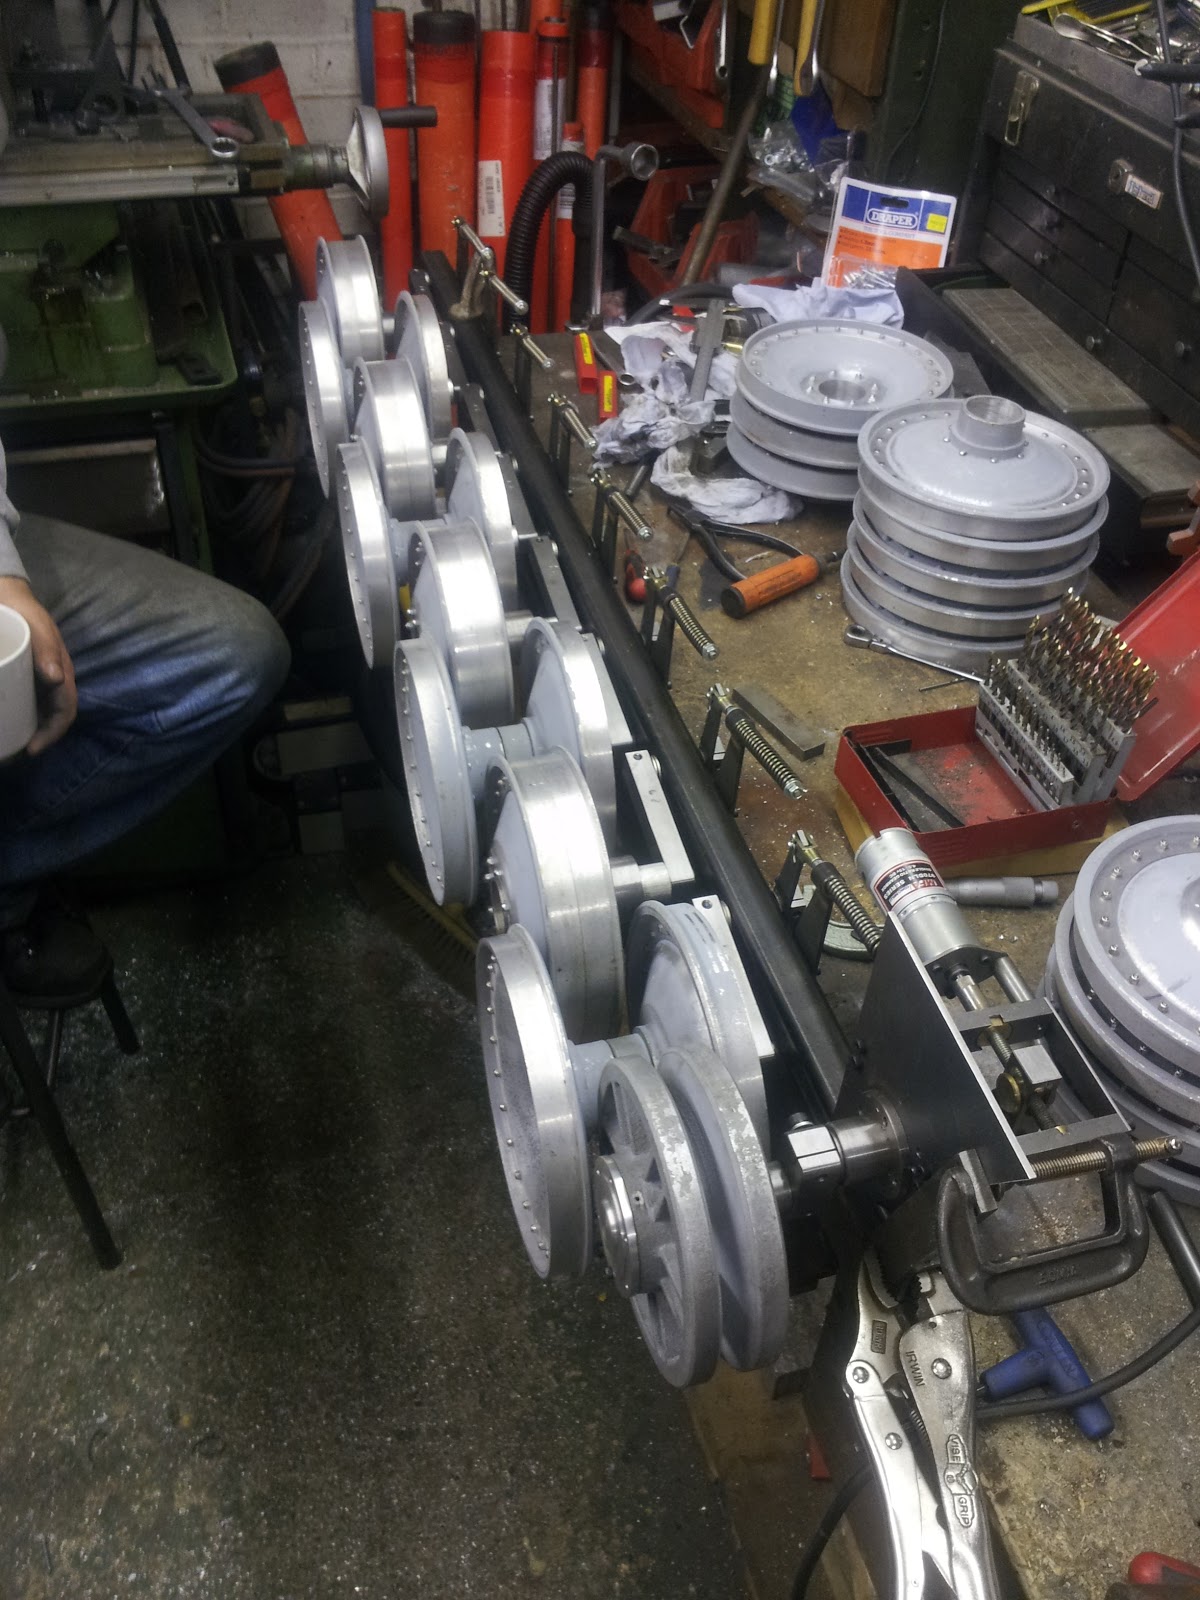
While I've been busy making the wheelcaps, Howards been modifying the tubes which the wheels fit onto and house the wheel bearings. He's also started making the stub axles for the swing arms as well. Here's a couple of pictures of the wheels on one of the chassis longtitudinals. Its starting to look like a tank again :-)

Check out all those lovely nuts and bolts!!!

Not sure what the plan is next weekend but hopefully we'll be starting to put the chassis together soon!!!